Friday, February 27, 2015

Functional Friday: Simple Stained Glass Effect

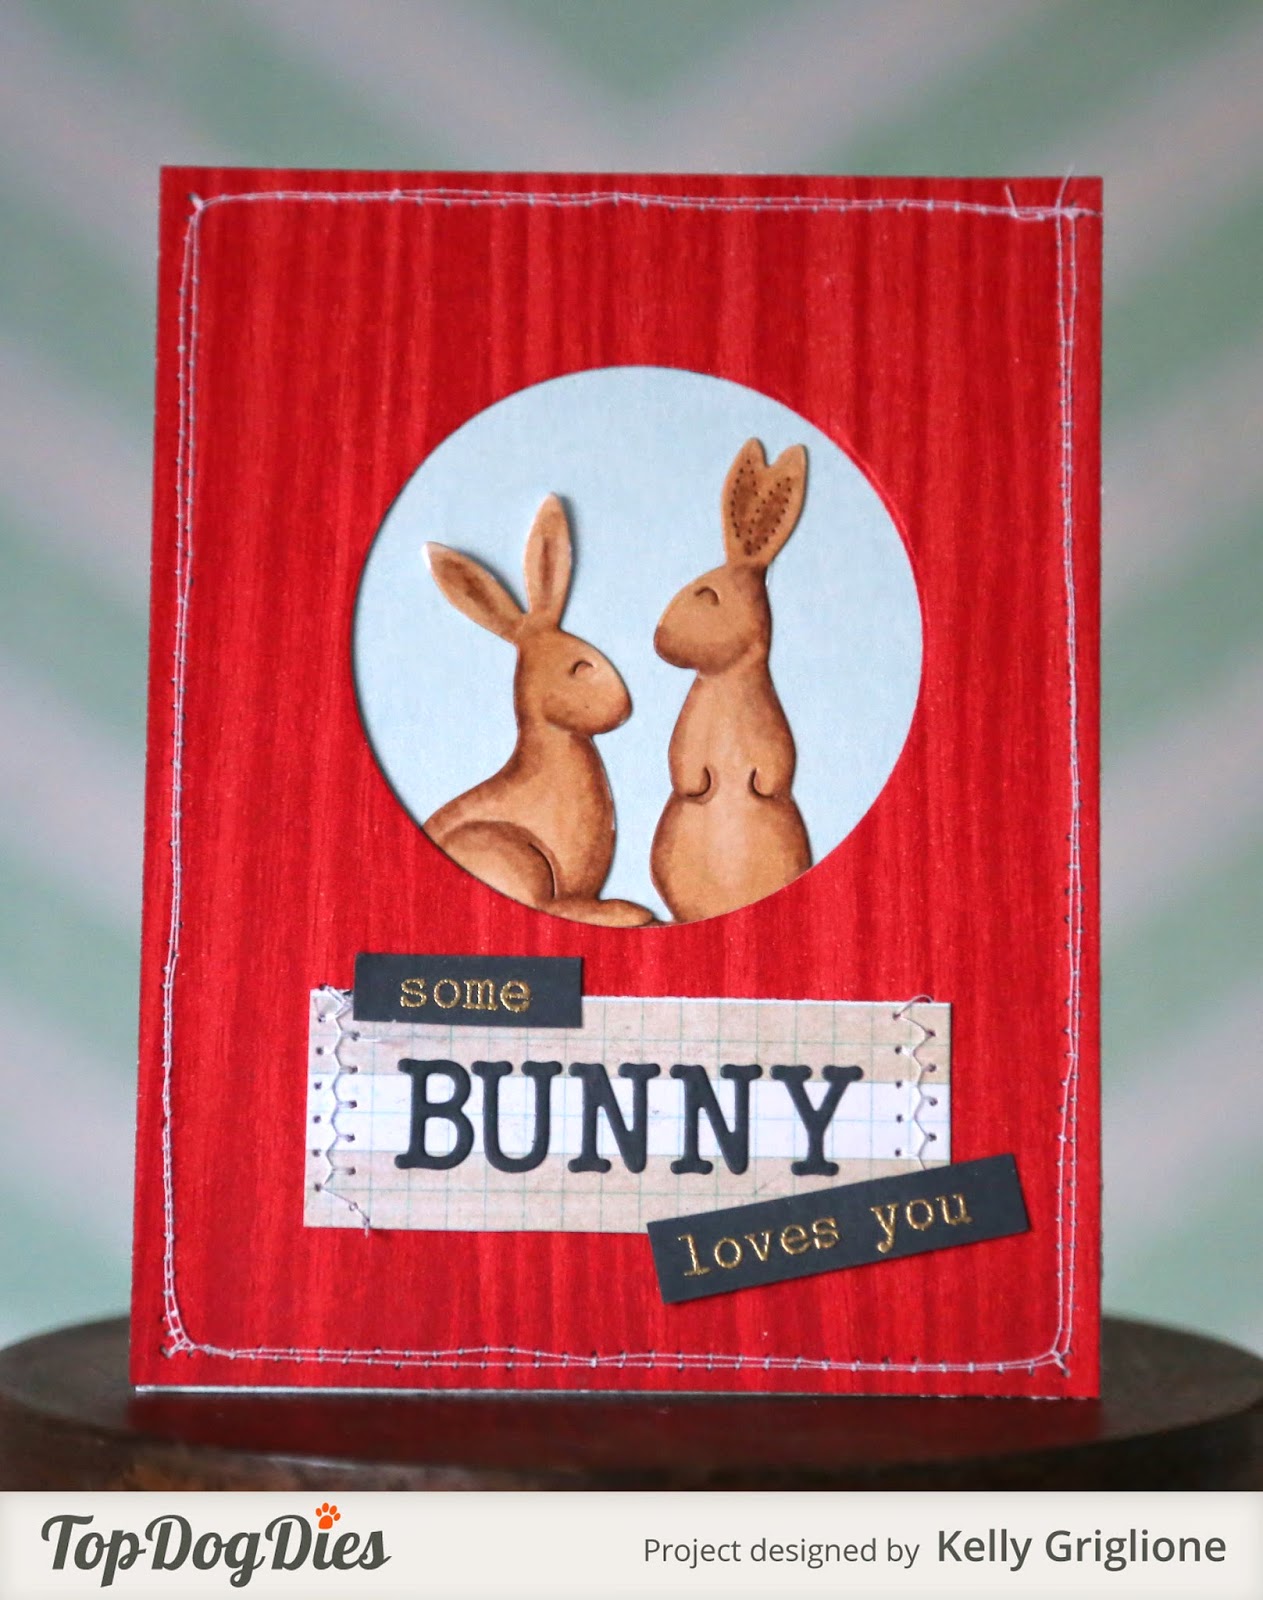
   Hi all! Time for another Functional Friday installment. In case you missed this post, I'm featuring one die from Top Dog Dies each month, and each Friday I'm sharing a different way to use the die. My hope is that even if you don't own that exact die, the ideas will translate to similar dies you do own.


I'm calling this a "stained glass" technique since some of the holes are filled in. Let's take a look ...


I cut the Heart Border Die in blue and, using the amazing dyer sheet technique, made sure all the pieces came out of the die. Then I cut the die in purple without using a dryer sheet and left some random hearts in the die.


When these are layered, it reminds me a little of stained glass, how some of the sections are filled.


I really like how this adds a see through element to the card without there being an empty hole. Definitely not rocket science, but just a little something different. The negative space was cut with the side of the Gift Tag Die Set. The transition from white to yellow looked a little abrupt, so I wrapped some gold thread through the area. When in doubt, add gold thread!

. I sure hope you don't mind, but I'm going to be cutting the heart border die at least two more weeks. Then I'm really going to have to move on to another die cut! Seriously.

Thanks for sticking with me on this one!
-Kelly

A Week to Die For: One Minute Wonders


w&w-cutaways-week-to-die-for

Welcome back to the last day of spotlighting winnie & walter cutaways! Lulu Fringe is the cutaway I was the most excited to get from this release. SO many possibilities!!

Lulu Fringe Cutaway
 
For this post I just focused on making flowers with it. It couldn't be easier.


Julie and Shay are, again, quite the thinkers ... the die does not have a cutting edge on the sides. !!! That means that you can keep cutting for as long as your ribbon/material/felt is. I'm thinking home decor projects, pillow embellishments, party banners, oh my!!


For this flower I cut 2 1/2 times the die size.


Then you simply fold it over,


and roll. Seriously could NOT be easier!


Add a little hot glue on the end to secure it and you're done.


Not bad for one minute's worth of work, right?!?


Here it is on a present. I used the same velvet ribbon for the band around the present, so it's a perfect match to the bow. With it being so large it really holds its shape well and doesn't flatten.


For the fabric tag backed with cardstock I used the Essentials: Katharine Cutaways. The stars are from Big Bang Confetti Cutaways. I made my own banner and folded it around the tag so the tails show from the bottom as well.

OK, what else?


You can change the material and cut just about whatever you can think of. The flower on the left is from a 25 cent sheet of felt (I'm sure I could have made at least 10 more out of that sheet). The flower on the right is from a really thick fleece. You can also force the loops to stay down by using a large brad in the center like the one on the left, or leave them up like the one on the right.


Here are more examples. The small green flower is from canvas material, the gold flower is from a very thin lame, and the larger green flower is from a bunch of leftover baseball print fleece (you'd never know, I just used the sections in between the baseballs).


I really had to stop myself and walk away from the fabric bins.

This flower is probably the most practical for card making. It's made from the super thin gold lame fabric so it flattens easily, but it's also stiff so it bounces back into place. Perfect to be flat for mailing and then dimensional for the person after opening it. Also, instead of rolling, I just adhered it to the bottom of my circle (cut from Essentials: Katharine and stamped with The Write Stuff: Love Story) to form a single layer.


 Here it is on a card. I was so excited about this one! The In a Word: Love Cutaways are in the background, a piece of gold star netting on top, and then the gold lame flower. It's all stapled together, just like the "hello" from The Big, the Bold and Happy Cutaways.


I love the kraft, gold and mint (inside) combination. The large word cutaways REALLY make it easy to cover a background quickly. I can definitely see doing this again. Originally I just had the flower and the gold star netting but I thought it needed something else. Adding more layers with the "love" cutaways and the "hello" cutaway really helped.

Anyway, thanks so much for joining us this week as we had fun with the new Winnie & Walter cutaways! I'm SO glad you stopped by!!!
-Kelly

Thursday, February 26, 2015

A Week to Die For: DIY Embellies


w&w-cutaways-week-to-die-for

Welcome back for another spotlight on winnie & walter cutaways!

Big Bang Confetti Cutaways


These cards all feature the Big Bang Confetti cutaways. I really love that this cluster of dies produces 4 different sizes of circles, stars and diamonds in one pass. Creating your own embellishments has never been easier! I originally had a different idea for these cutaways, but after I saw Shay's fun and funky card this week I had to abort and go a different direction.


A couple turns of the crank later and I had a large selection of shapes to work with. Now it's time to mix and match.


I really had a blast putting these together. You really can't go wrong. After I was done with the confetti I added a few birthday mix sequins for good measure.


The fun thing about making these embellies, aside from picking out the colorful papers, is randomly adhering them on top of each other. Usually I'm a liner-upper and center everything. Wow, it's so much quicker to throw caution to the wind and just plop them down!

  
To add to the party atmosphere, I layered a few other patterns under the main panel and secured them all with a strip of washi tape.
 

With the leftovers, I made a little baby card. The embellies are quieter on this card, with tone-on-tone layers, and simple stars. I was originally having trouble with where to put the sentiment on this and the last card, until I decided to use one of the embellies to house the sentiment. Problem solved.


My final card uses more left overs. I used the small diamonds to fill the white space in the center of the circles. This card uses the colors from the current Fusion Challenge, and all three cards use the sketch from the challenge.


Thanks for looking, and I'll see you tomorrow for the final episode in this week to die for!
-Kelly

Wednesday, February 25, 2015

A Week to Die For: Gold Stitching


w&w-cutaways-week-to-die-for

Welcome back for another spotlight on winnie & walter cutaways!

Essentials: Katharine Cutaways

Julie and Shay are masters in efficiency; they spend countless hours trying to jam as much goodness into each section of metal they offer up in their cutaways sets. The Essentials: Katharine cutaway is certainly no exception. How can you not get excited about all the "essentials" in this set?!

For this card, I limited myself to just the row of circles. It seems innocent enough, but holy cow, the possibilities are endless! Seriously, my sketchbook has about a dozen stitching ideas for that one alone. All those perfectly lined up holes ... [happy sigh].
 

Just a die cut at the top and bottom of the panel and you are all set to create whatever patterns you can dream up. This design was simply to have all the thread going from one end and meeting in the middle of the other end. The shine that you get from all those gold strands is really something. 


The sentiment uses the In a Word: Happy cutaway. I was inspired by this card from Danielle Flanders where she brilliantly threaded a second sentiment through the first. LOVE that idea and couldn't wait to try it with the big words from winnie & walter's "In a Word" series.

Love the combination of navy, pink and gold ... it's very Springy to me, without being watered down pastels.

Thanks again for looking! See you tomorrow for more cutaways!
-Kelly

Tuesday, February 24, 2015

A Week to Die For: a Present-Card from The Big, the Bold and Party

(Please go here for the Top Dog Dies blog hop)


w&w-cutaways-week-to-die-for

Welcome to a week showcasing the wonderful cutaways from winnie & walter's last birthday celebration release! This project is actually a card, made to look like a present. The double-sided floral "wrapping paper" is from Chickaniddy Designs. I ran a layered band of patterned pink paper around the "box" to look like ribbon. The "bow" on top is the "birthday" cutaway from The Big, the Bold and Party (which is currently sold out, but please check back later, it's such a great set!)


I cut a few slots in the top of the box and slid the birthday cutaway through them. Love how this stands up over the ribbon just like a bow on your package would. Finally, the tag is from a new series, Essentials: Katharine. which will be featured another day. It's secured onto the card with a couple rounds of silver embroidery thread.


Here's the card, folded flat, ready to be stuck in an envelope.

Please join us tomorrow when we feature another amazing winnie & walter set of cutaways!

Thanks for stopping!
-Kelly

Top Dog Dies: Spring Release


Hi all! SO excited to show you five different projects from the Top Dog Dies Spring die release! If you're hopping along, you've probably come from Jeanne Jachna's blog. If not, you're welcome to start at the beginning on the Tog Dog Dies blog.


The Rabbits Die Set can easily fit into an Easter-themed card, or they can be used for a more versatile "love you" card like this one. I was trying to build a scene of a mama bunny looking down on her child. The punny "bunny" part of the sentiment is from the new Typewritter Uppercase dies. To give this card a more homespun feel, I used beige tones, ventured into the world of Copic shading, and sewed around the panel a couple times.


I thought it might be cute to bend the bunny's ear out since I don't have any other dimension on the card.


Next we have a row of Peeps, right out of their candy packaging! This uses the third and final bunny in the Rabbits Die Set, without his feet. I had to cut them off to get them looking like the treats. The sentiment uses Typewritter Lowercase dies and Typewritter Uppercase dies. Don't you love how specific you can customize the sentiment with alphabet dies? I certainly don't have a "Hey Peeps" stamp laying around, so building my own words is the way to go. The period is borrowed from a lowercase "i".


A generous dusting of glitter gets these peeps looking just like the real thing. I had a dilemma on making the face. You see, I rushed into glittering before drawing the faces on. I couldn't use a marker on top of the glitter, so I ended up turning them over and putting a lot of pressure on the marker until it bled through to the front. Bingo, that did it!


Whenever I think of chickens, I think of lots of them. Since the Feathered Friends Die Set comes with a small and large chicken, I thought it would be fun to make a teacher-with-students card. Lined paper is an easy choice to start with for the background. I shaded the bottom section to ground the chickens.


The teacher chicken is bright orange, for the focal point. She's also standing straight up. I've got her wing bent slightly outward for some dimension (it's only adhered at the tip). The student chickens have their legs spread apart to convey motion, or a more casual stance. The stamped sentiment is from winnie & walter's The Big, the Bold and You, and the die cut letters are Typewritter Uppercase dies.


I'm getting a head start on my youngest son's First Communion invitations, and they couldn't be easier to make. The gorgeously detailed filigree cross does all the work for you.


For extra impact, I used three layers of the cross outline and the cross detail dies.


So easy to make the cross shine as the only embellishment on the card when you start adding layers.


Finally, I wanted to see if I could turn this amazing cross into a piece of jewelry since it was about the right size. My mother-in-law beaded the necklace for me many years ago, and I just love it. The silver beads on the side tie in nicely with the filigree cross. To attach the cross, I added a jump ring to the hole that was already in the cross, and clamped it back around the necklace.


Here's an idea of what it looks like. Really love how this turned out!


The cross itself is made of 7 black layers, and a top layer made from Add a Little Dazzle metal sheets. Believe it or not, it's pretty sturdy. You wouldn't want to go swimming with this necklace on, of course, but I'd feel very comfortable wearing it out and about. 

Giveaway
Top Dog Dies is giving away an entire set of the new spring dies! That's $122.00 worth of products! To enter stop by the Top Dog Dies blog before March 6th and enter.

Your next stop is the wonderful Kimberly Wiener's blog!
She's always got something fun going on over there : )
 
Here's the entire hop:

 Thanks so much for stopping by!
-Kelly